Find out how to create a URL and claim code to automatically issue a badge when entered by earners.
Creating a Badge Application with a claim code enables you to provide earners with a URL and claim code they can enter to be automatically issued with their badge.
This is a fantastic tool if you require a fuss-free issuing process that needs no manual data processing from you and puts the choice of receiving a badge in your earners’ hands.
Issuing a badge this way:
- Removes the need for you and your colleagues to manually process names and email addresses.
- Removes the need for you to gain written or verbal consent prior to issuing – by entering their claim code your earners are volunteering to be issued with the badge.
- Makes a great badge acceptance rate far more likely, as automated emails are generated at a time convenient for the earner.
To create a Badge Application with a Claim Code on OBF:
|
1. Log in to Open Badge Factory. This will open your dashboard. |
|
2. Click 'Creator tools' from the navigation menu at the top of your screen.
|

|
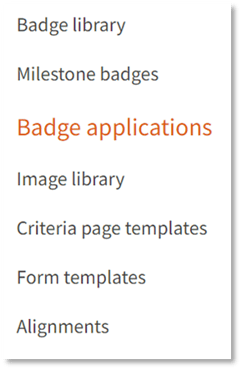
3. Click ‘Badge applications’ from the list of options on the left-hand side of your screen.
This will open a list of any existing badge applications that have been created with your account. 4. Click ‘+ Create new badge application’.
|

|
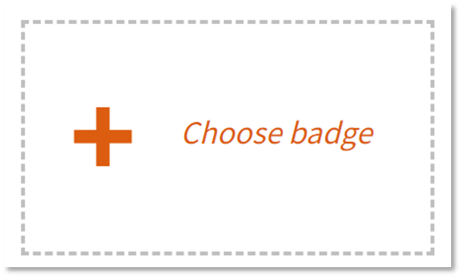
5. Click ‘+ Choose badge’ to select what badge you would like to issue through this application.
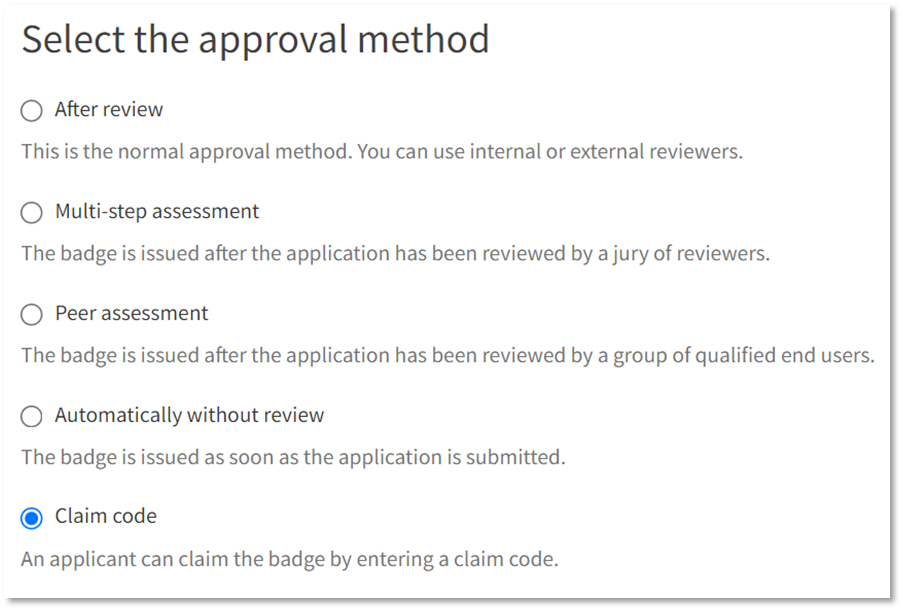
6. For approval method, select ‘Claim Code’.
7. Click ‘Save’.
This will open Step 1 – Badge |

|
The first page features ‘Instructions for issuers’. You do not need to enter any information here as your badge will be issued automatically when an individual enters your claim code. 8. Click ‘Next’ to move onto Step 2 - Form
|


|
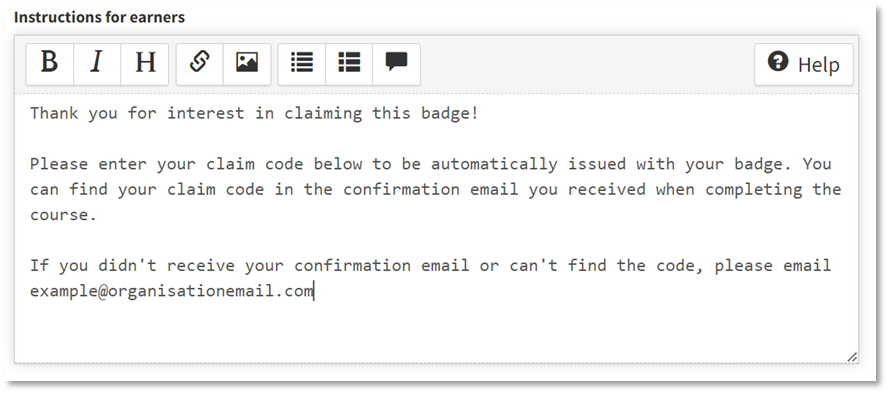
9. Enter instructions for earners into the text box. This could include information about where they can find their claim code, or who they can contact about being provided with a claim code.
Please note: The application will automatically collect earner names and email addresses, so you do not need to add elements to capture this information. 10. Optional form: As individuals will enter a claim code to be automatically issued with the badge, you do not need to create a form for this badge application. However, if you require additional information other than an individual’s name, email address, and claim code, you can create a form to capture this. If you have existing templates, you can choose which one to use by clicking the ‘Pick a form template’ button.
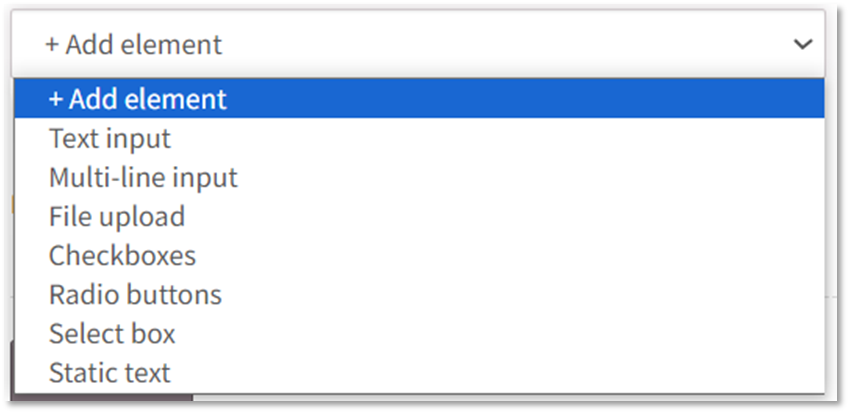
To find out more about creating form templates, please see this guide. If you are not using an existing template, start building your form by clicking the ‘+Add element’ drop down and adding the elements you require.
When you have added all of your elements, you can re-order or delete them using the arrows and crosses to the right of each element
This will open Step 3 – Message. |


|
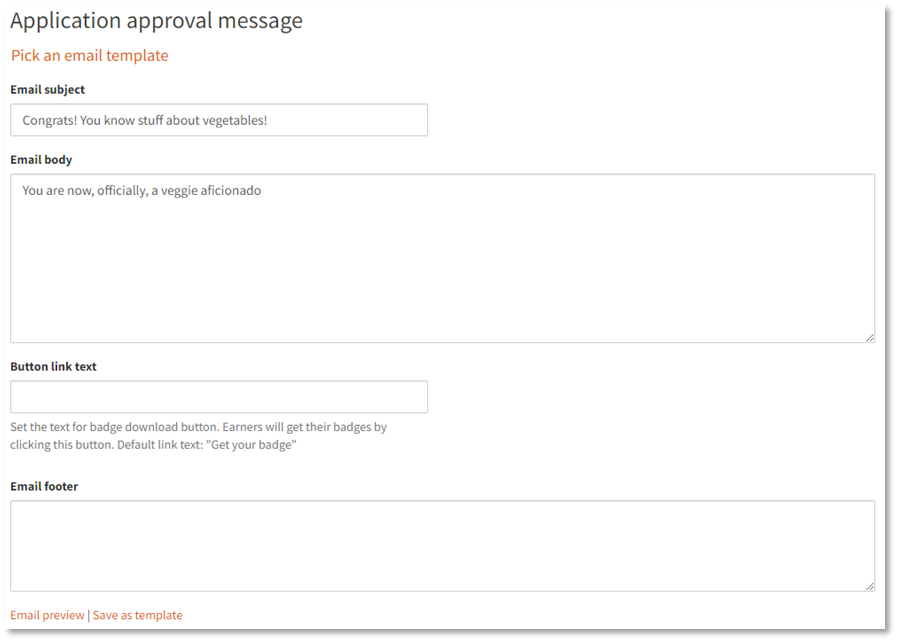
12. Set your application approval message. This is the email earners will receive when they successfully submit their claim code and are issued with the badge.
You can customise each of these fields to tailor to the respondent’s experience and preview what they will receive by clicking “Email preview”. Alternatively, click ‘Pick an email template’ to use an existing email template.
This will open Step 4 – Approval Method |


|
This is where you can create your claim code(s) that will enable earners to be automatically issued with your badge upon submission. 14. Click ‘Generate new claim code’.
This will create a claim code and allow you to optionally enter some short instructions for issuers e.g. how the claim code and URL are best shared to the badge applicants.
You may like to have multiple claim codes available for this application. This might be useful if the application URL and claim code are likely to be shared with different audiences, but is not essential. 15. When you are happy with your claim code(s) and instructions, click ‘Continue’
This will open Step 5 – Permissions |


|
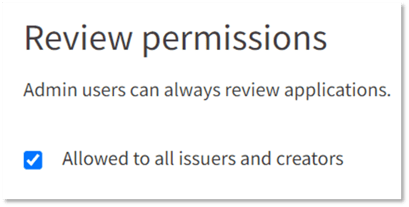
If your OBF account's subscription is Basic or Premium, this will be set by default and you can skip to step 17 below. Accounts with a Pro subscription can amend the following: Review permissions:
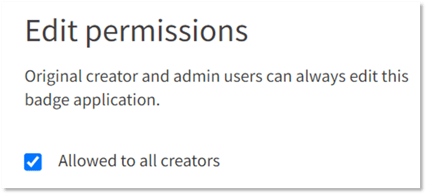
Edit permissions: This refers to who on your organisation’s Open Badge Factory account can edit this badge application. By default, you will always be able to edit it as the original creator. To allow other creators and admin users in your Open Badge Factory account to edit this badge application, leave the “Allowed to all creators” box ticked (recommended).
This will open the final step, Settings. |


|
Here you can enter some final settings for your badge application. 18. Name (required): Enter a title for this Badge Application.
This is automatically set to the language of your OBF account. Please note that changing the language at this stage will only change default elements of your badge application and will not translate the text you have entered throughout the form such as questions and answers.
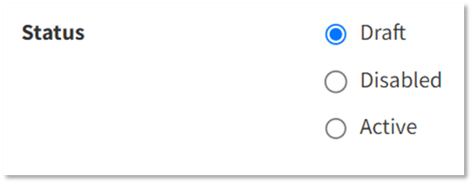
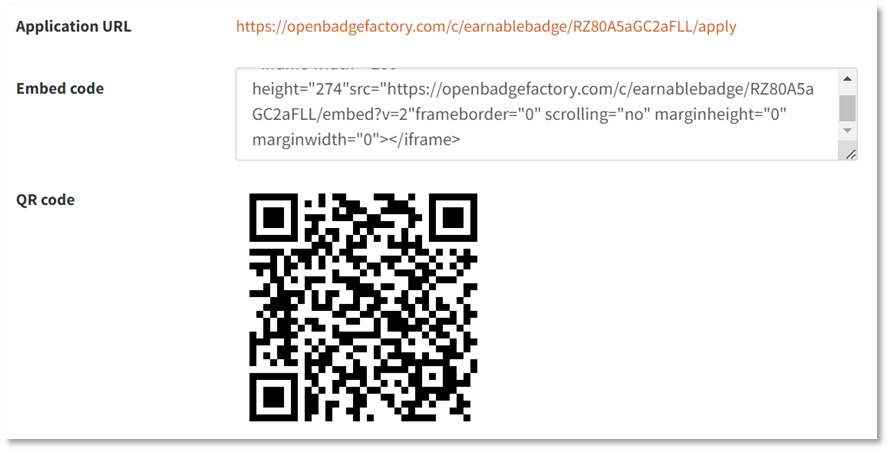
By default, this is set to ‘Draft’ while you are creating the application and cannot be shared. The application URL below will appear with a strikethrough.
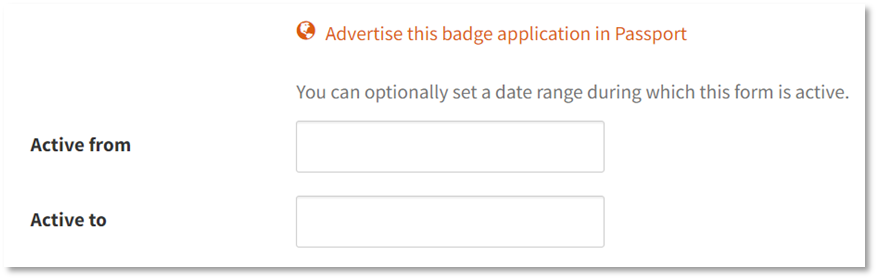
To enable sharing on this application right away, select ‘Active’. This will open up some additional settings such as advertising in passport, a date range, and will enable the application URL to become live.
Underneath this are some sharing options for your application.
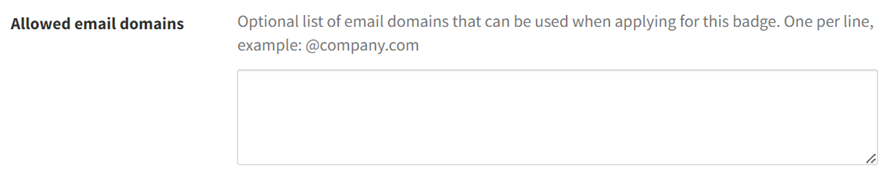
This can be useful if you would like to ensure that individuals can only complete the application if they are from a particular organisational domain (e.g. university, college, or local authority)
This can be useful if you would like to direct respondents to another website, e.g. My Skills Pass for sharing their badge.
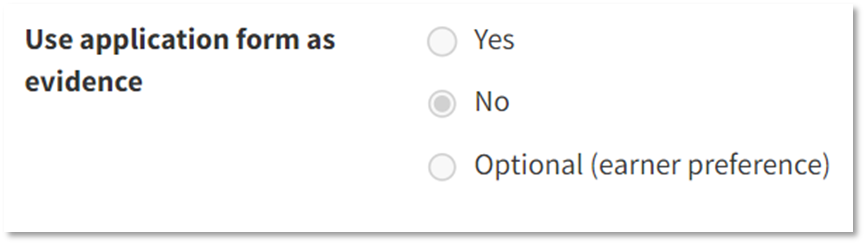
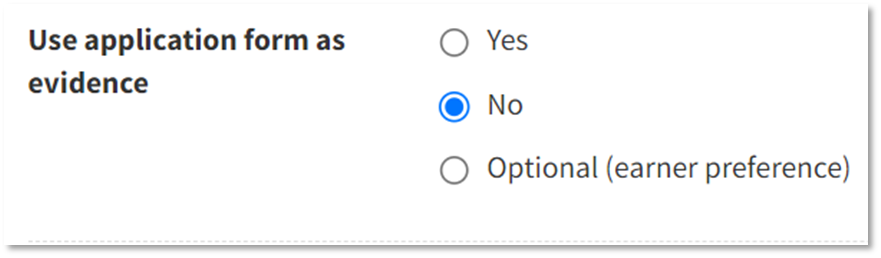
If you did not enter any additional elements to your application form in section 2 – Form, then these settings will be greyed out as there is no form to use as evidence.
If you did enter additional elements in the form section, this setting will by default be set to ‘No’.
Note: the badge earner can still choose if they want to show the badge application as evidence in the badge or not, even if the application creator has determined Yes in the above-mentioned options.
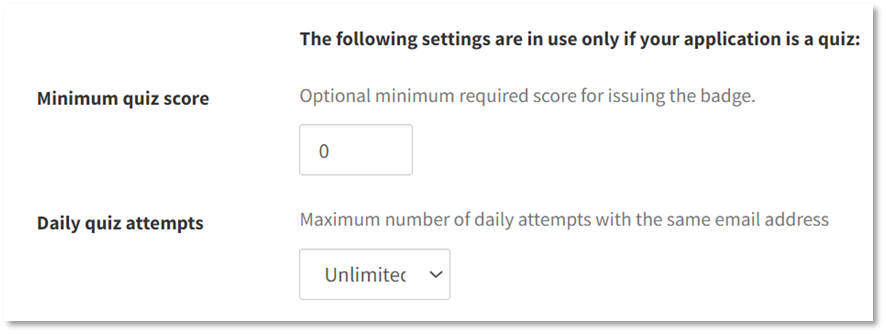
As your application is created for claim codes and is not a quiz, you do not need to amend these settings.
|


All done!
You will be redirected back to the Badge applications tab under creator tools and your new application will be at the top of the list.
Now the fiddly bit is over, don’t forget to share! Click here to find out ways to share your new application.