How to issue a badge on OBF.
|
1. Log in to Open Badge Factory. This will open your dashboard. |
|
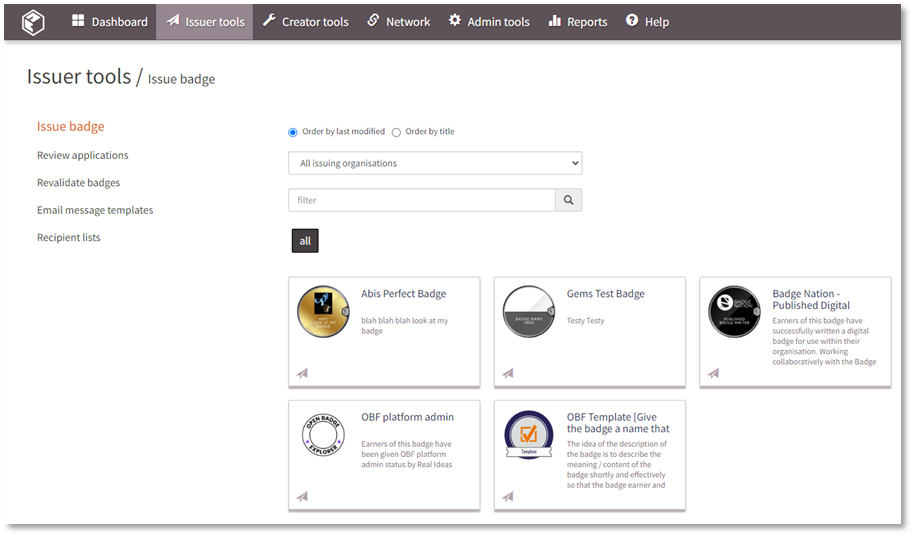
2. Click 'Issuer tools' from the navigation menu at the top of your screen.
This will open the ‘Issue badge’ page, with a summary of all of your badges. Each badge appears as a card on this page.
|

|
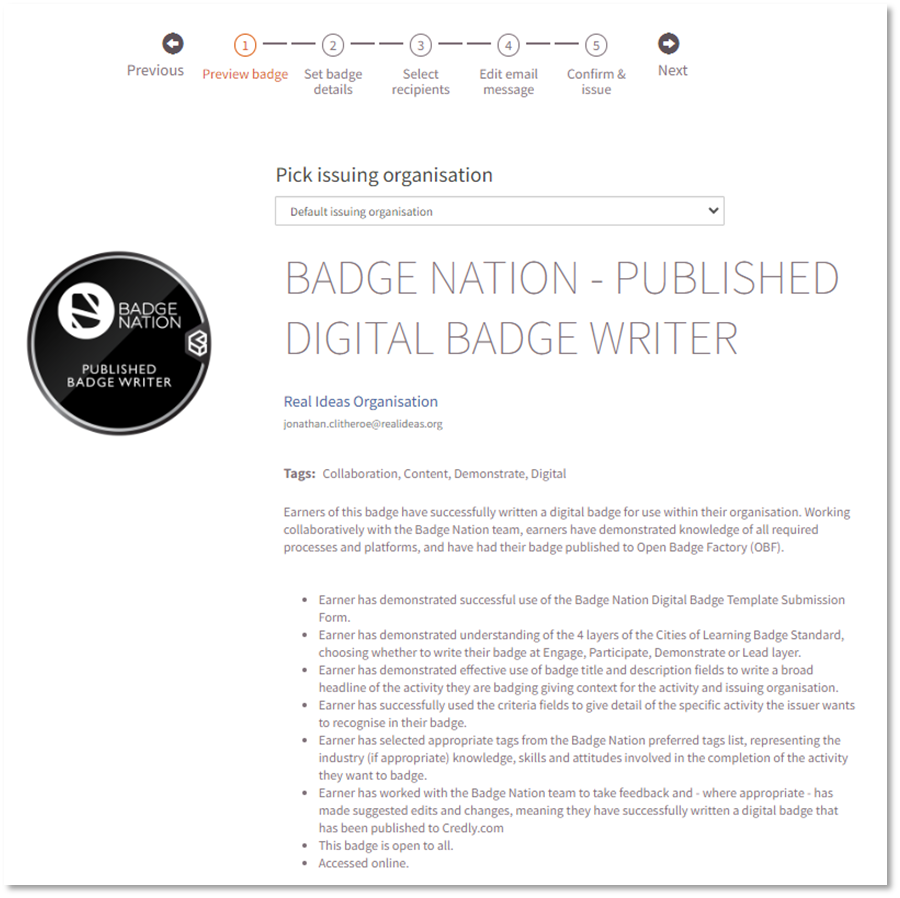
3. Left click on the card of the badge you would like to issue. This will open step 1 of the issuing process – “Preview badge”.
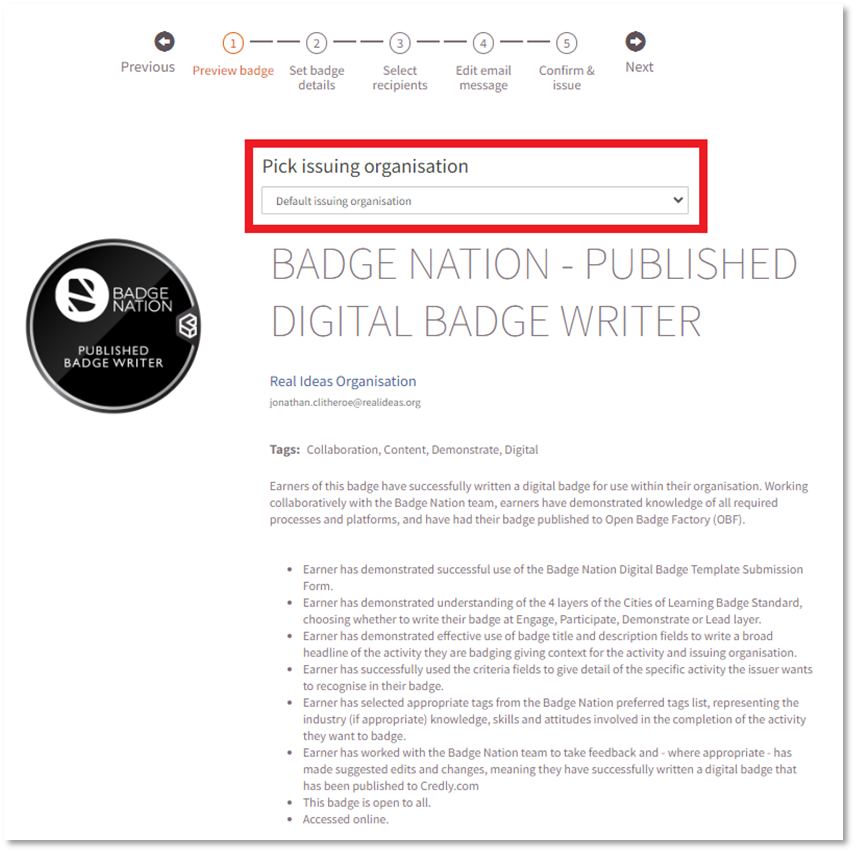
The badge will automatically be issued from the default issuing organisation for your OBF account. If you have sub-organisations within your account that this badge has been allocated to and you would like the badge to be issued from this organisation, select this using the drop-down menu underneath the text “Pick issuing organisation”.
|
|
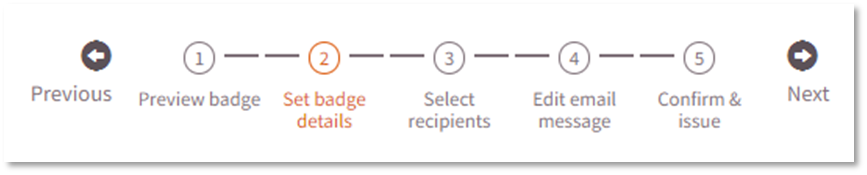
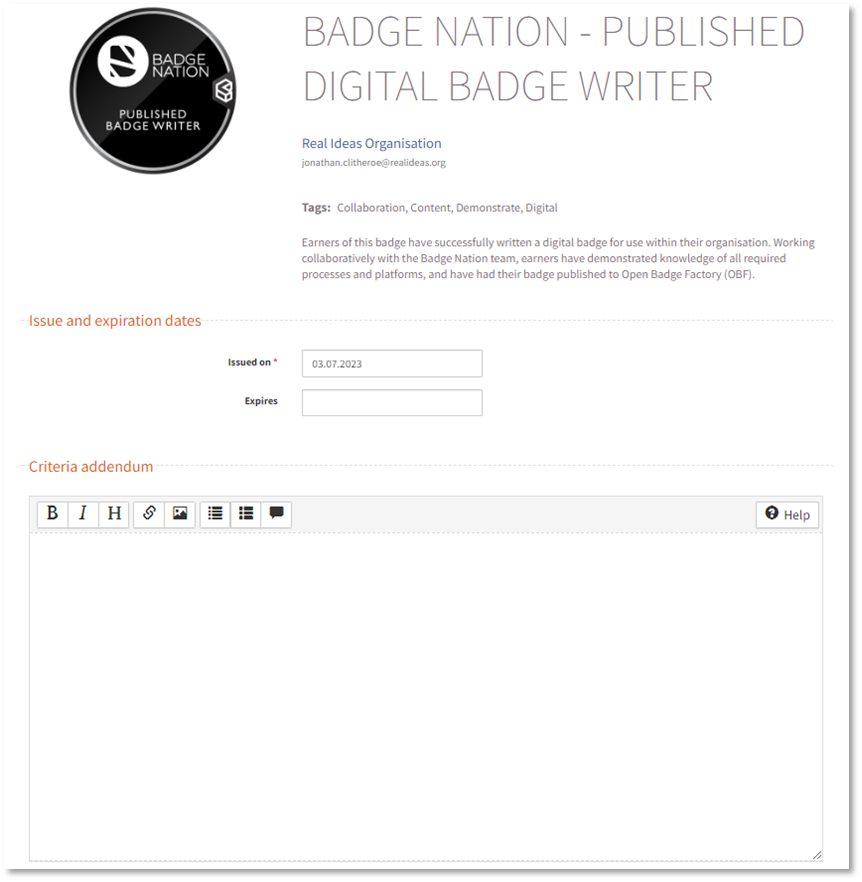
4. Click ‘2 – Set badge details’
Here you can set your issue and expiration dates and any criteria addendum. To find out more about criteria addendum, please see this guide.
- If your issue date is in the past, please read our guide on retrospective issuing. |
|
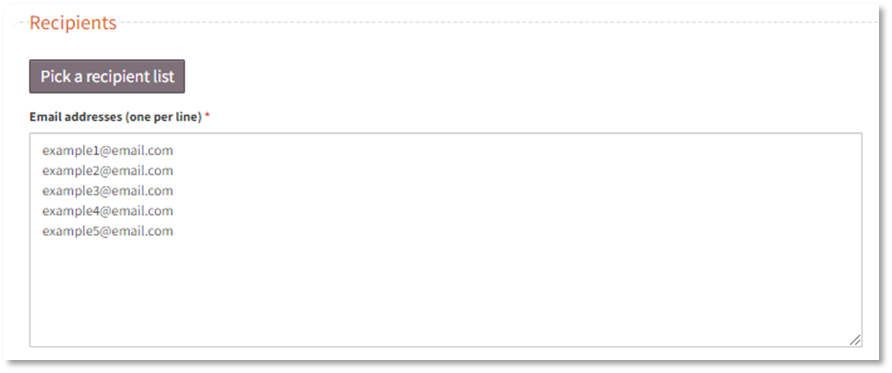
5. Click step 3 – ‘Select recipients’ Enter the email address of each earner you are issuing the badge to. Each email address should appear on its own line. You can add up to 2,500 lines of addresses.
To add the earners’ first and last names you can do this in three available formats. |
 Please note: while adding an earner’s first name and last name is not essential to issue the badge, it is recommended. This information can help make reports easier to read.
|
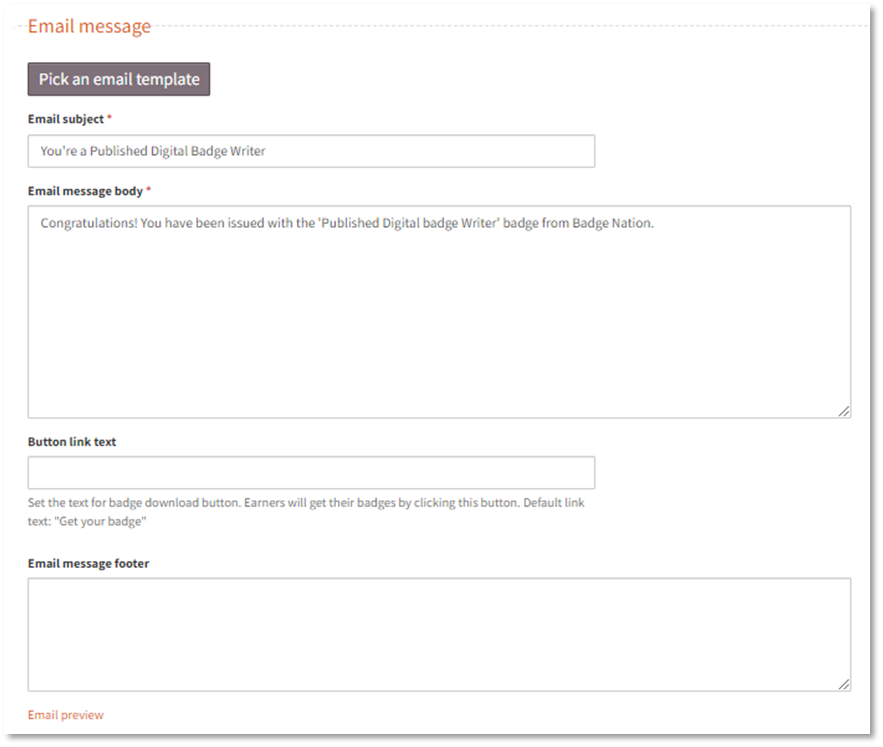
6. Click ‘4 – Edit email message’ This will open some options for customising the email that earners will receive when you complete the issuing process. You can customise this text each time you issue, and also add text for the ‘Button link’ and ‘Email message footer’.
An option to speed up this process is to create pre-set email templates which you can easily select at this stage using the 'Pick an email template' button. Please see this guide to find out more about creating email templates. When you are happy with your content, you can click ‘Email preview’ to see what the email will look like when your earners receive it. |

|
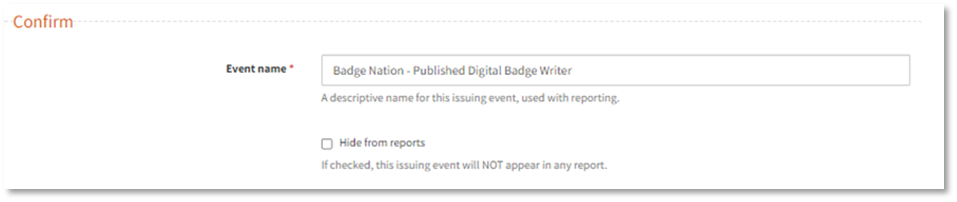
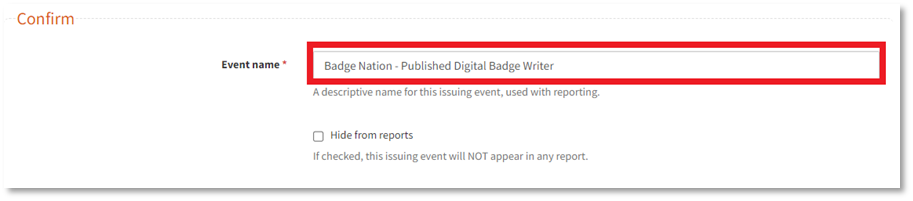
7. Click ‘5 – Confirm & issue’
Now you can enter a name for this issuing event – the default text in the box will be the name of the badge.
You can amend this text if you are likely to require reports on specific sets of issuing, for example, year groups, but it is recommended to still keep the name of the badge in the event name.
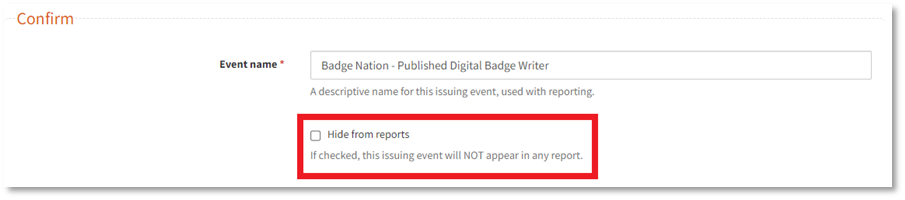
You can also choose to hide this issuing from reports. This is not recommended in most cases of issuing, but is available if needed e.g. if testing how to issue a badge.
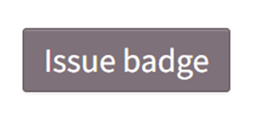
In the bottom right corner, click “Issue badge”
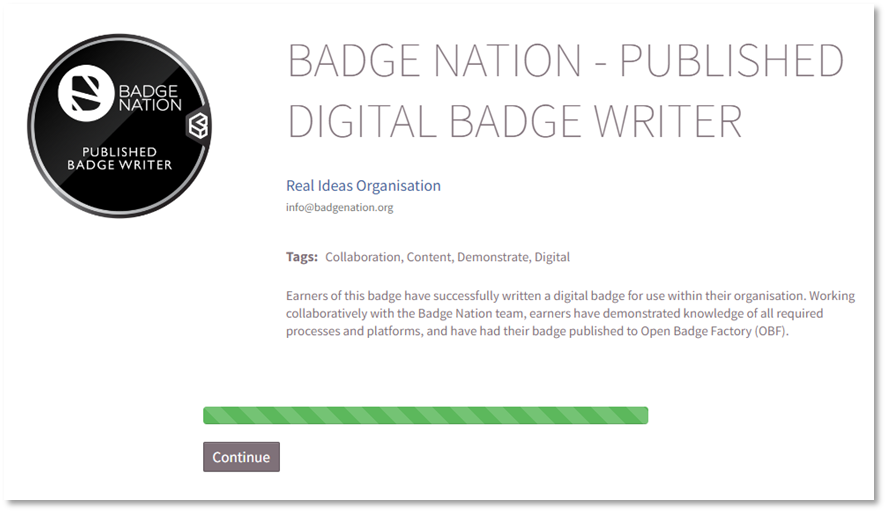
A new page with a progress bar will open.
When this is green, a ‘Continue’ button will appear to allow you to navigate back to your dashboard. |

All done!
Your earners will receive an email inviting them to accept their badge.