Find out more about email templates on OBF and how to use them.
Creating email templates can support you with a speedy issuing and application creation process by adding pre-written messages to your OBF account.
When issuing badges or creating applications, this is a fantastic way to communicate with your earners and provide additional information without needing to construct a new message each time. Some examples of information often used in templates includes:
- What they can do with badges (e.g. share to social media, create a passport account etc)
- Future opportunities they could take part in
- Links to surveys / evaluations
You may like to create a tailored email template for each of your badges, or a generic template that is amended each time a badge is issued. Whatever works best for you, creating an email message template is a quick an easy process that will save you time later.
To create a new email template:
|
1. Log in to Open Badge Factory. This will open your dashboard. |
|
2. Click 'Issuer tools' from the navigation menu at the top of your screen.
This will open the ‘Issue badge’ page, with a summary of all of your badges. Each badge appears as a card on this page. |

|
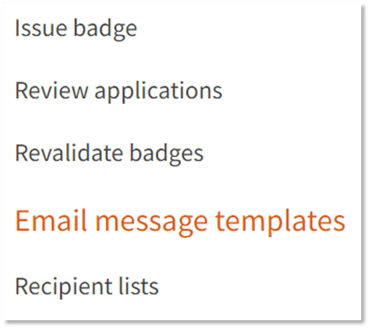
3. Click ‘Email message templates’ from the list of options on the left-hand side of your screen.
This will open a short form to begin entering the content for your message. |

|
5. Template name: Enter a name for this template that will make it easily identifiable for Admins and Issuers on your OBF account.
Enter the text that will appear as the email subject.
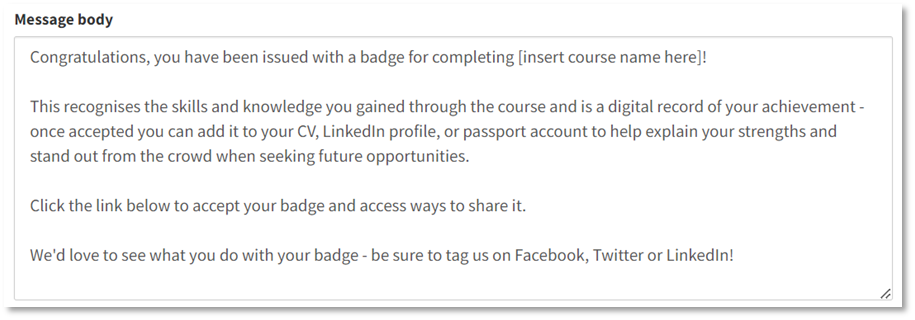
Enter the text that will make up the main portion of the email.
When writing your email, you might consider including hyperlinking text to include links to how-to guides, further information, or even images. Format your email however you like using the available options:
Enter the text that will appear as a hyperlink for earners to click and accept their badge.
Please note – if your email template is not for the purposes of accepting a badge (e.g. it’s for rejecting a badge application or a notification of submission) you can leave this blank.
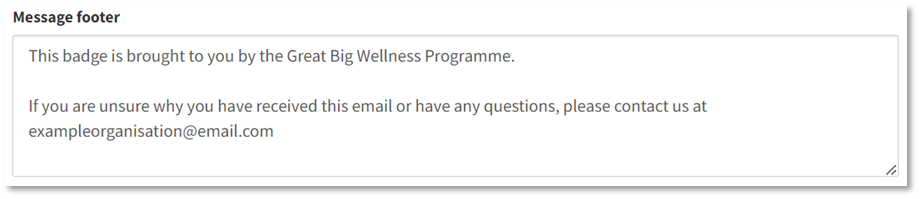
This is optional and doesn’t need to be filled in, but is a good opportunity to add any partner / funder / specific programme information, or provide a way that earners can get in touch if they experience any problems.
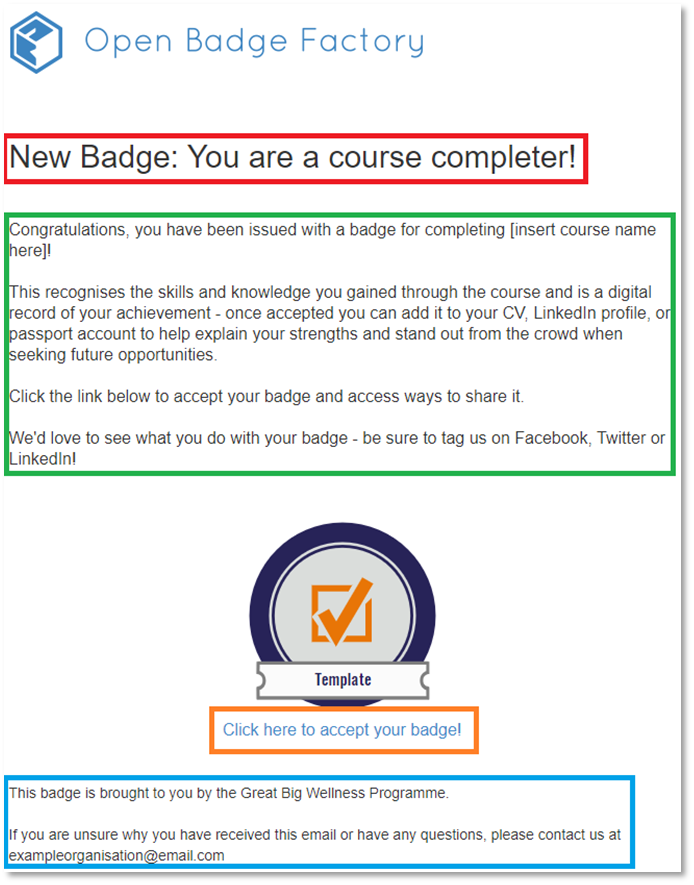
This will show a preview of what your template will look like when it is received by an earner. How to understand your preview: Red = Email Subject
If you would like to make changes to your template at this stage – close the preview, make any changes, and review your preview.
|