Show off the skills and experience in your badge!
Adding a digital badge to your LinkedIn profile is a great way to show off your skills and experience. The licences and certifications section of your profile is an easy way for potential employers, recruiters, and members of your network to view your digital badges.
|
1. Make sure you have accepted your badge Please see this guide on accepting a badge via OBF. |
|
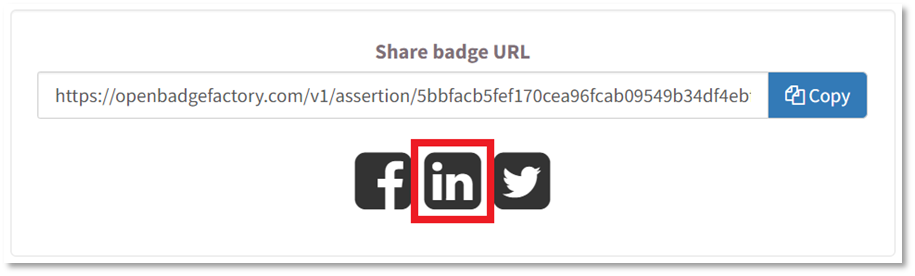
2. Under ‘share badge URL’, click the LinkedIn icon.
This will open a pop up with two options for adding your badge to LinkedIn. |
|
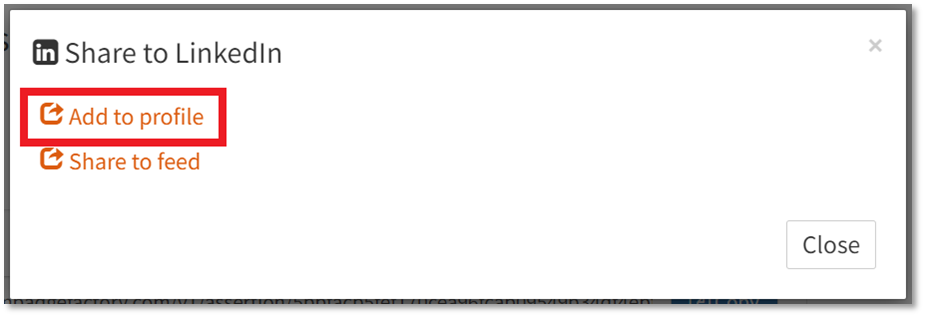
3. Click ‘Add to profile’
This will open a new browser tab to log into LinkedIn. |
|
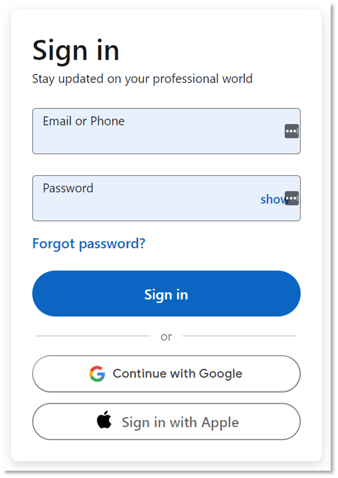
4. Log in to your LinkedIn account.
|
|
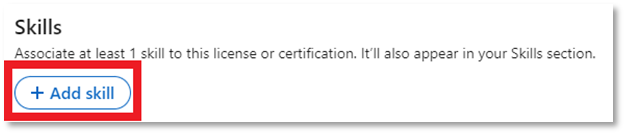
Enter skills
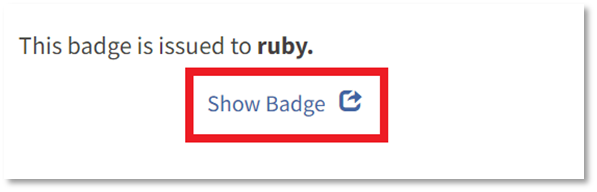
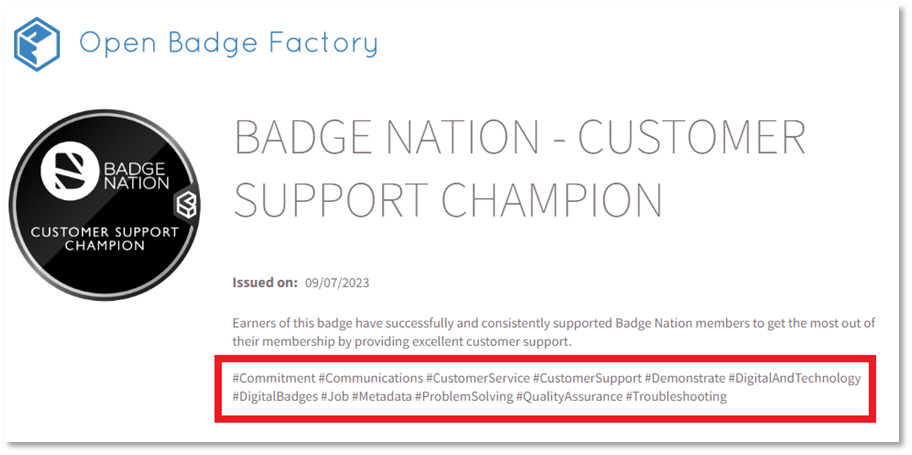
5. Click ‘Show Badge’ on your OBF badge acceptance page
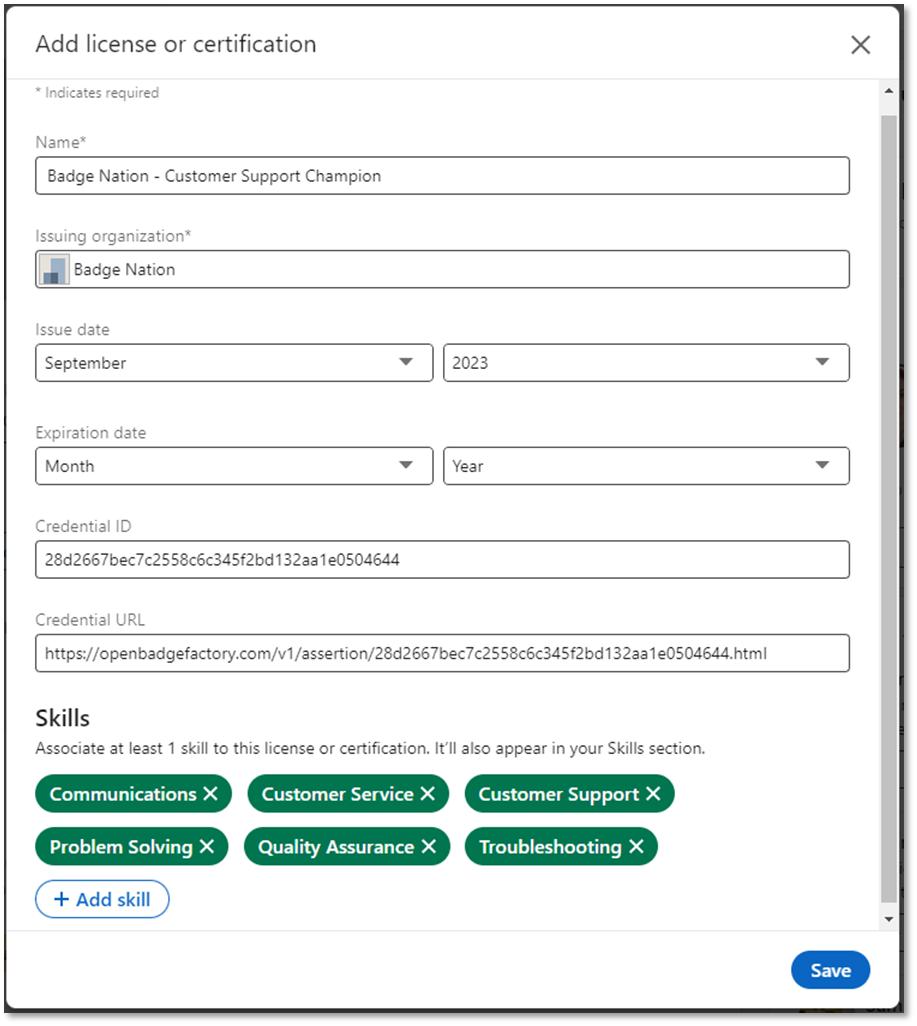
This will open a new tab containing all of the information within the badge. Skills involved with the badge can be found as a list of hashtags:
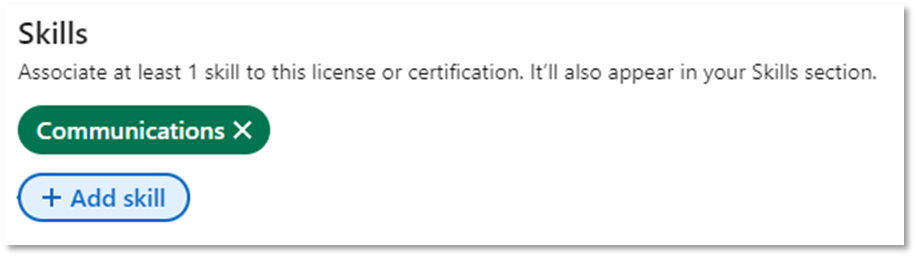
Remember to make sure that the # sign is removed and that you separate each word.
The skill will appear in a green bubble.
Your pop up should now look something like this.
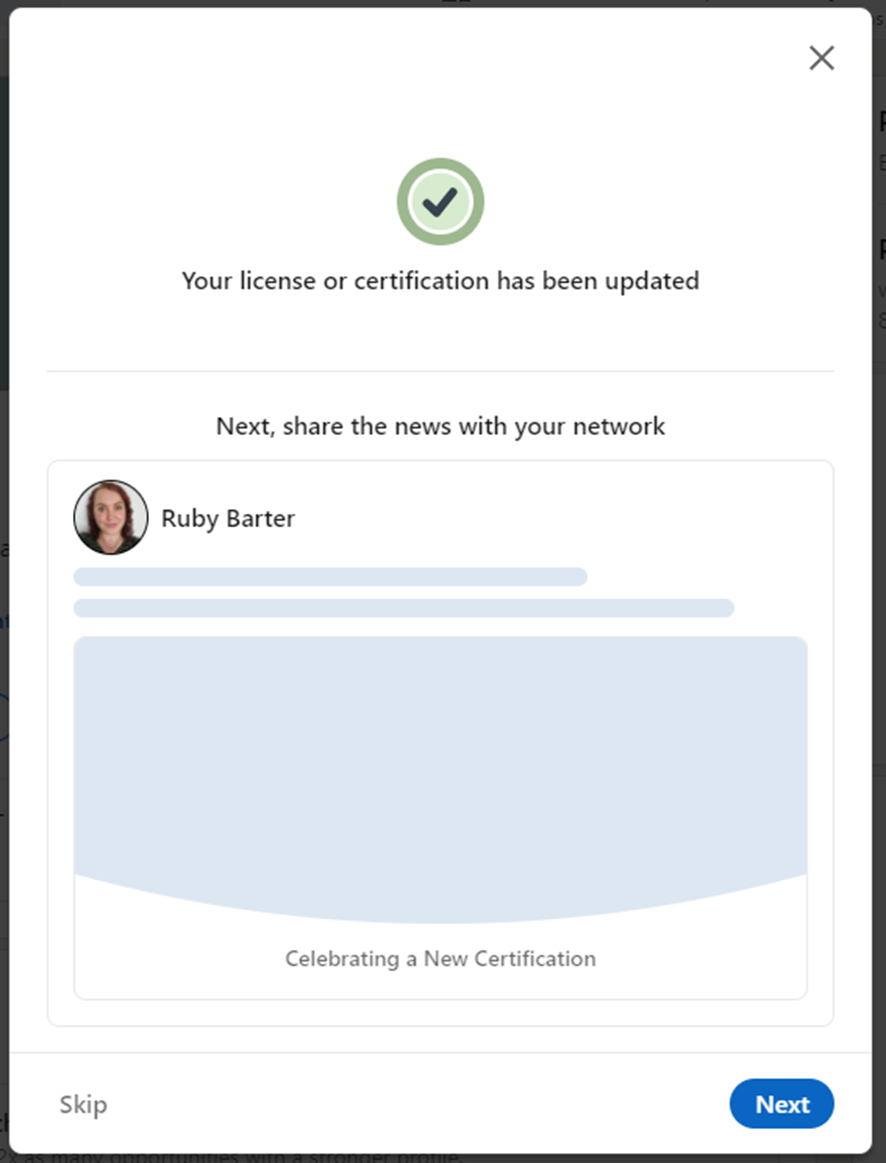
A pop up will appear to let you know the badge has been added to your profile. |


|
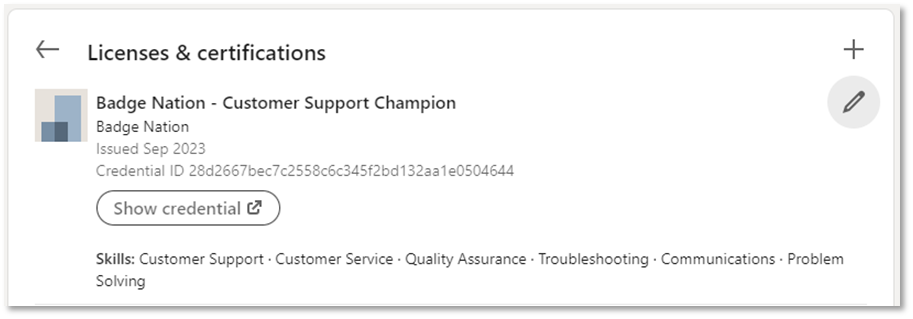
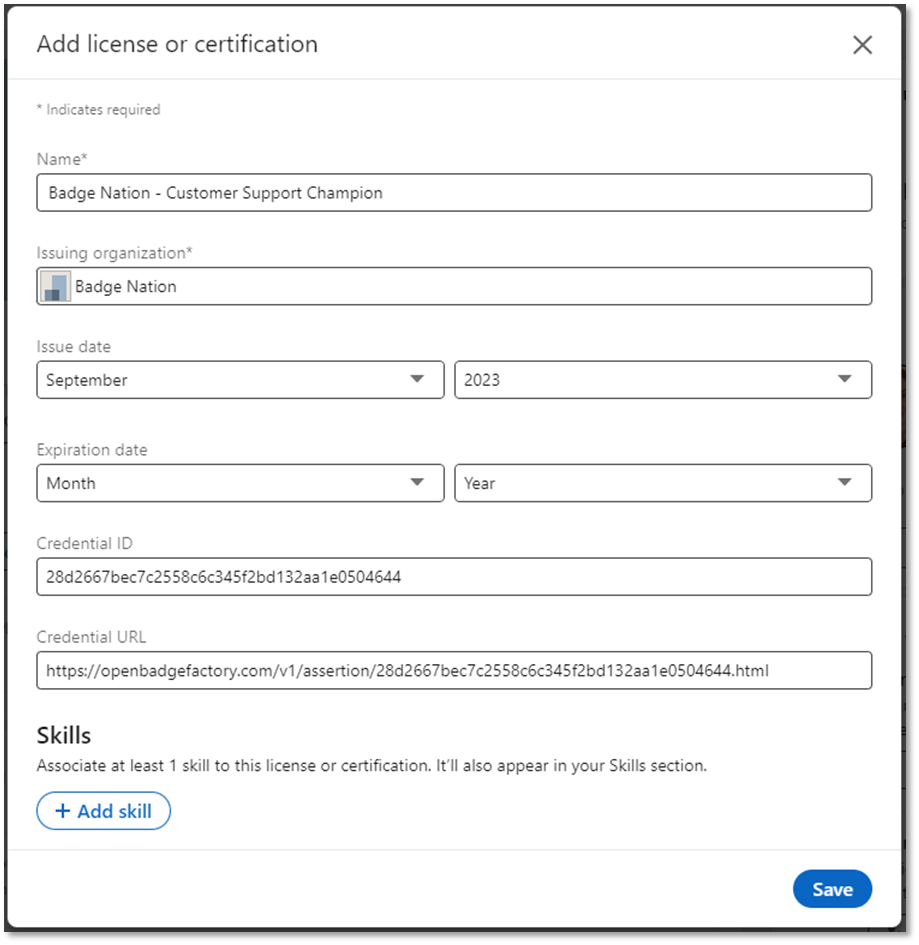
12. Click ‘Next’ to write a post about earning this badge, or ‘Skip’ to close the window. The badge will now appear in the ‘licences and certifications' section of your profile with a link to the badge.
And the skills you added will appear in the ‘skills’ section of your profile.
|