Find out more about setting up your account on My Skills Pass or My Skills Backpack
Creating an account on My Skills Pass or My Skills Backpack is a fantastic way to collect and display your digital badges from different platforms / email addresses into one place, and even create content such as tailored digital CVs.
This guide takes you through the process of creating an account, featuring your first badge, and choosing your basic account settings.
|
1. Accept your first badge issued via Open Badge Factory (OBF). Please see this guide on accepting a badge via OBF. |
|
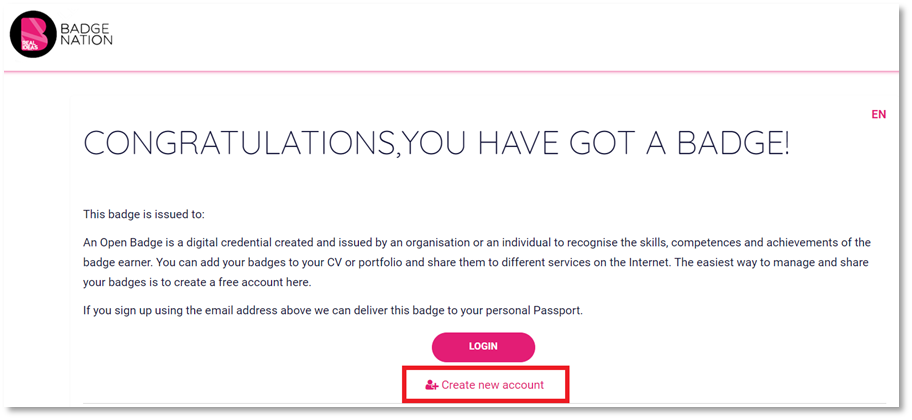
At the bottom of your badge acceptance page, you will be presented with some information about the passport. 2. Click ‘Go to Passport’
You will be taken to a new page. |

|
3. Click ‘Create new account’
|
|
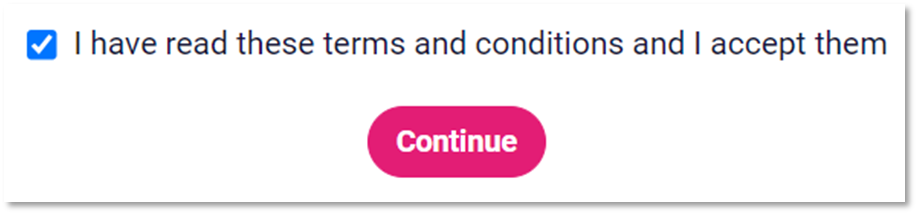
4. Read the terms and conditions.
5. Tick the box and click ‘Continue’.
|
|
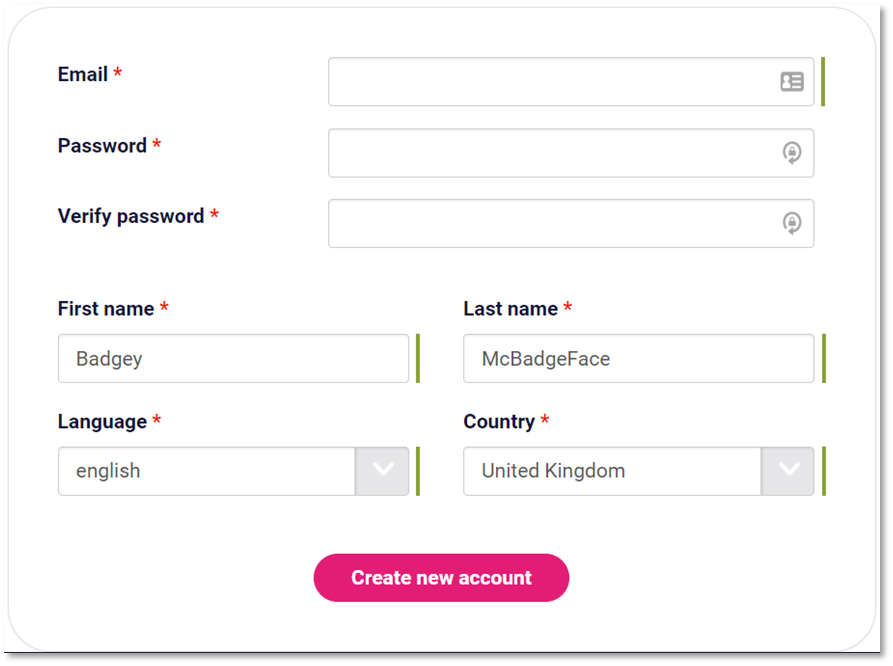
The email address that your badge was issued to will automatically appear in the ‘Email’ box. 6. Add and verify a password, enter your first name, last name, language, and country.
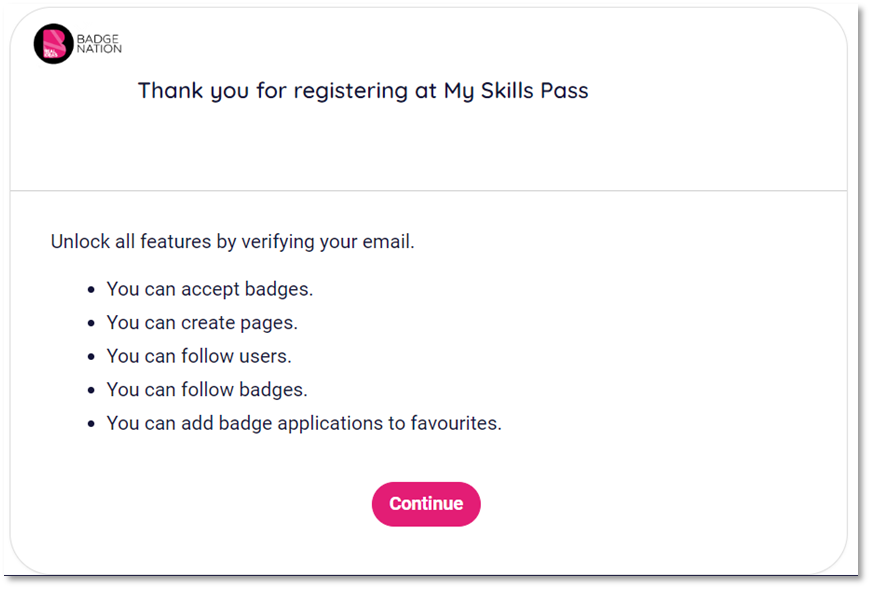
A notice will appear:
8. Click ‘Continue’ This will take you to your account dashboard.
|
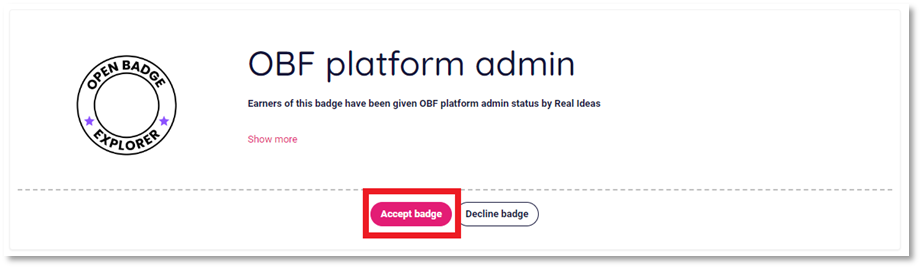
Make sure to accept your badge to your new account!
|
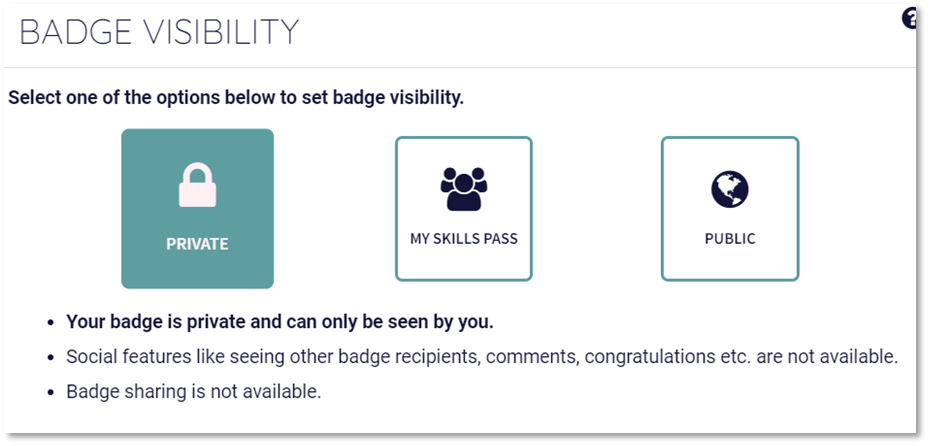
9. Click ‘Badges’ from the navigation bar at the top of your screen.
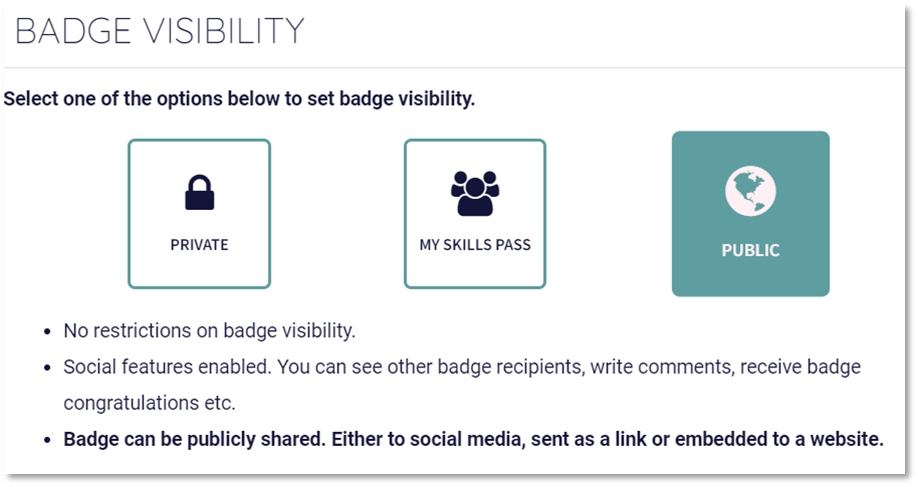
You have three options: Private
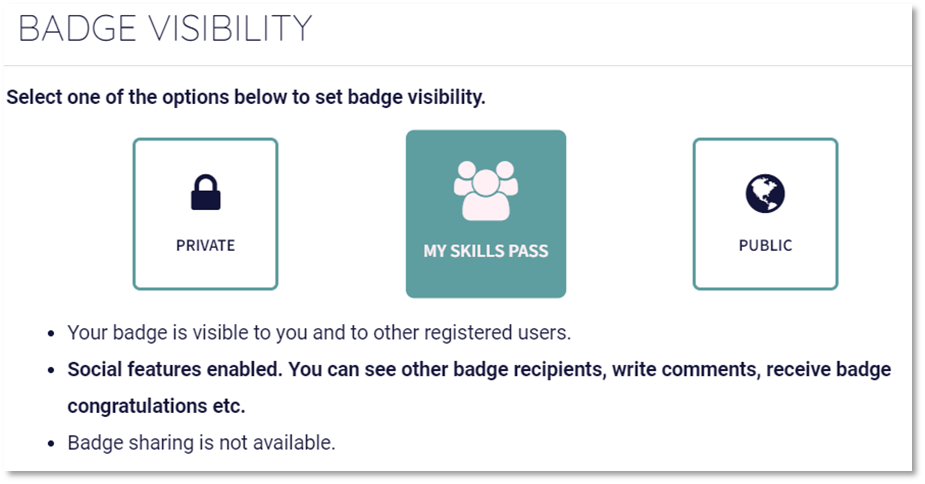
My Skills Pass/Backpack
Public
12. When you have made your choice, click save
You can change your badge visibility at any time by visiting the badge on your ‘Badges’ tab. |

Choose your basic account settings
|
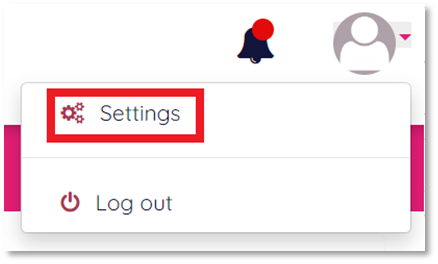
13. In the top right-hand corner of your screen, click the profile icon and select ‘Settings’
This will open your account settings. |
|
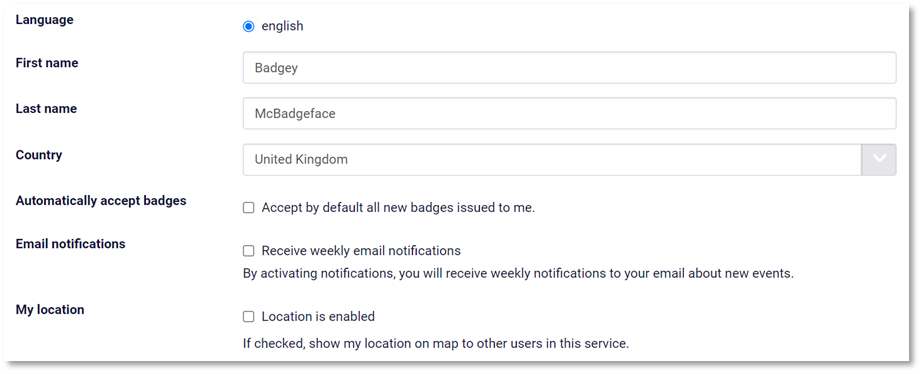
Auto-accept, email notifications, and my location settings will be disabled by default. Tick the corresponding boxes if you would like to enable them.
|

Add any additional email addresses to your account so you can receive and display badges whether they’re issued to your school, work, or personal email addresses.
|
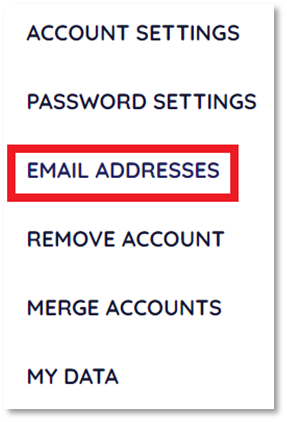
15. Click ‘Email addresses’ from the menu on the left of your screen. |
|
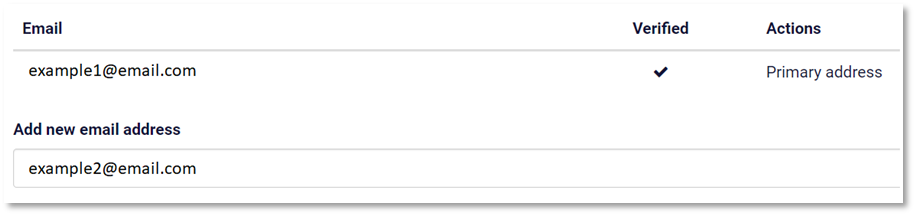
16. Under ‘Add new email address’, enter the new email address you would like to add.
Then click ‘Add’
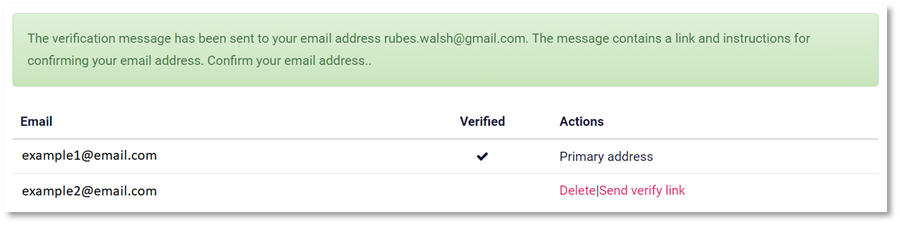
A notice will appear that you have been sent a verification email to the new address.
|

|
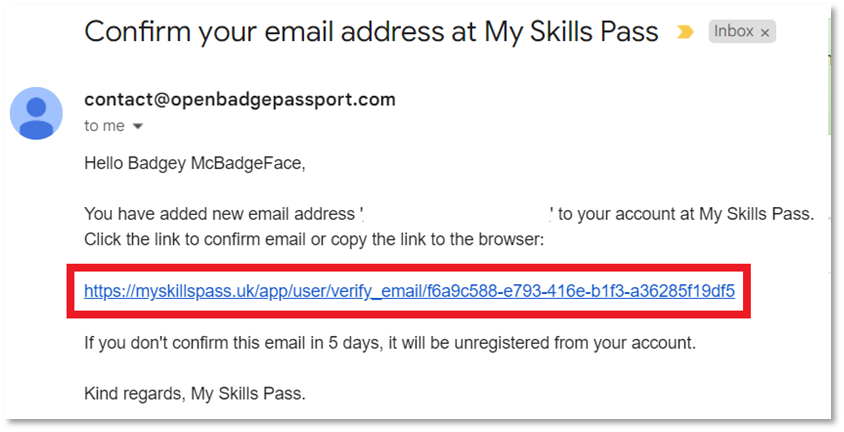
17. Visit the inbox for your additional email address. You should have an email with a link to verify. Check your junk folder if it hasn’t landed in your inbox. 18. Click the link
This will direct you back to the ‘Email addresses’ section of your account on My Skills Pass. |
|
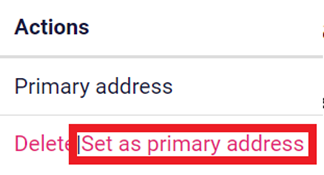
19. If you would like to set the new address as your primary email address, click ‘Set as primary address’
You can change your email address settings at any time. |