Find out how to issue a badge using a CSV file.
PLEASE NOTE:
Using the 'Bulk Issue' feature on OBF requires your organisation to have an OBF Pro account. This feature is not available on Basic and Premium subscriptions.
If you would like to discuss your OBF subscription type don't hesitate to submit a Customer Support Request and a member of the team will be delighted to chat.
|
1. Log in to Open Badge Factory. |
|
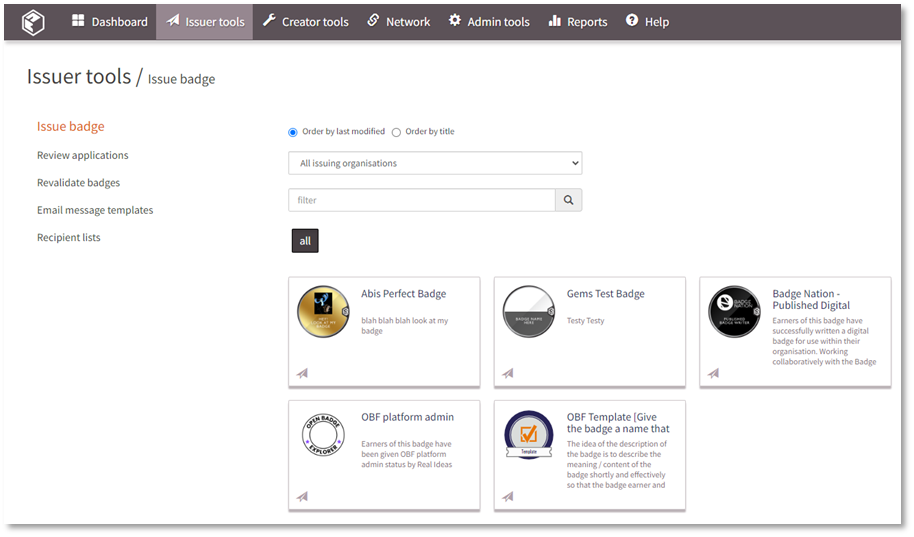
2. Click ‘Issuer tools’ from the navigation menu at the top of your screen.
This will open the ‘Issue badge’ page, with a summary of all of your badges. Each badge appears as a card on this page.
|

|
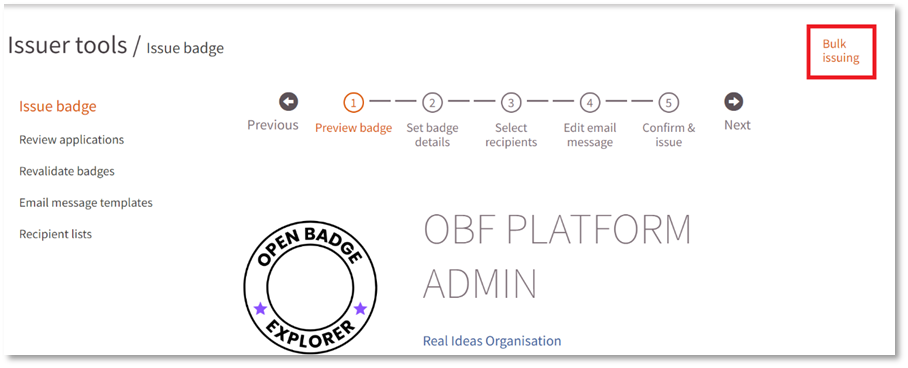
3. Left click on the card of the badge you would like to issue. This will open step 1 of the issuing process – “Preview badge”. Click ‘Bulk issuing’ in the top right corner of your screen.
|
|
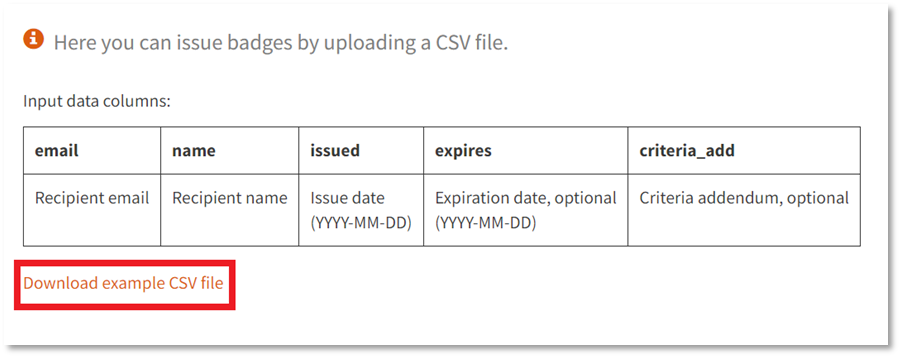
4. Click ‘Download example CSV file’.
This will download a template spreadsheet for you to edit in CSV format. |
|
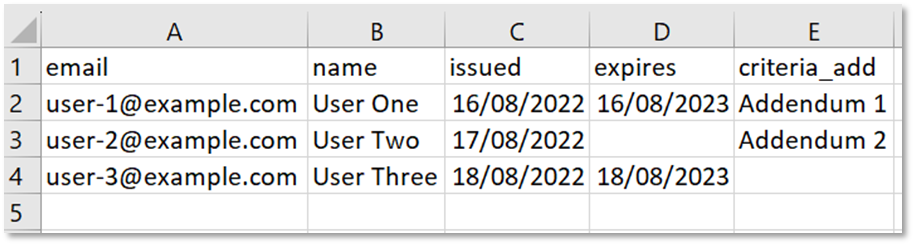
5. Open the CSV in Microsoft Excel or equivalent. This will show you what a bulk issue spreadsheet can look like when completed.
|
|
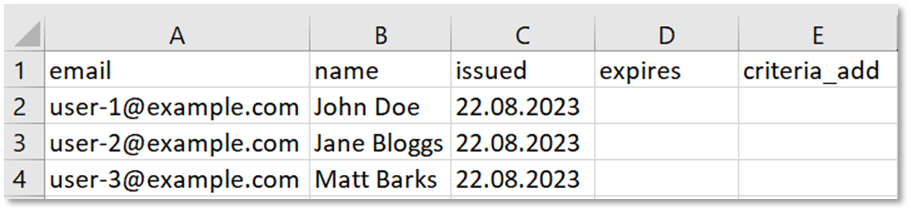
6. Edit the spreadsheet. Enter each earner’s email address, name, and issue date on its own row using the following columns: Column A: Column B: Column C: - If this date is in the past, please read our guide on retrospective issuing.
Your spreadsheet should now look something like this:
|
|
7. Save the file. You may like to save it with a distinctive name somewhere easy to find, so you are ready to upload shortly. |
|
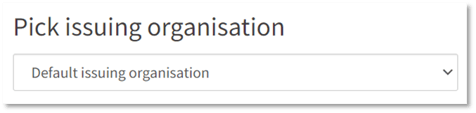
8. Back on OBF, pick the issuing organisation to appear on the badge. If you have designated sub-organisations enabled on this badge, you can choose between the default (name of OBF account) or a sub-organisation by clicking the drop down and making a selection.
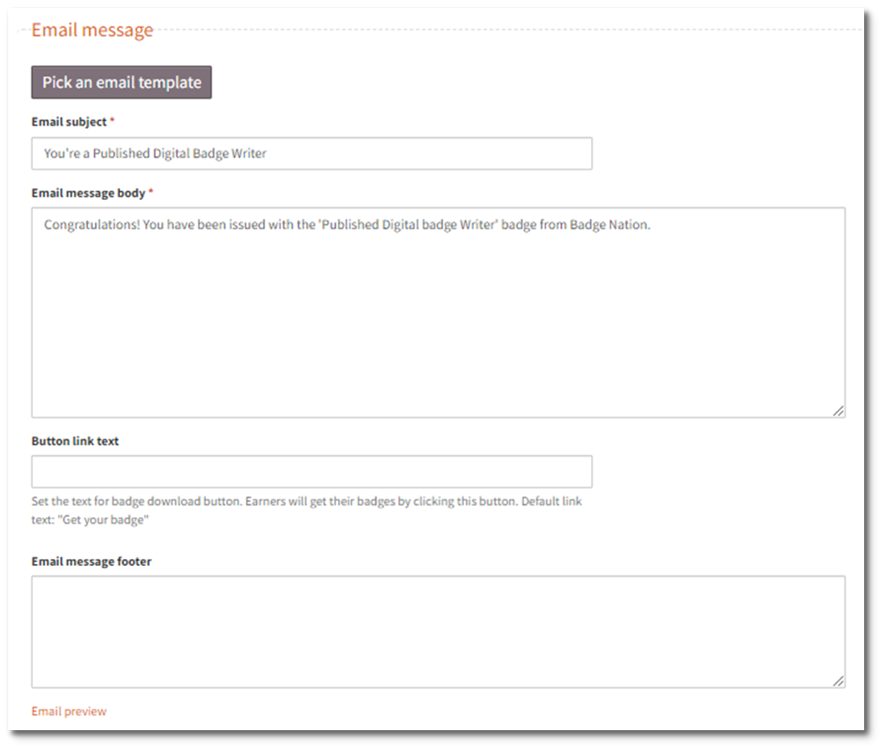
This option will not appear to you if no sub-organisations have been enabled for this badge. 9. Customise the email message that earners will receive when you complete the issuing process. You can edit the content in each field to tailor to this issuing event.
Alternatively, click ‘Pick an email template’ to use an existing email template. When you are happy with your content, you can click ‘Email preview’ to see what the email will look like when your earners receive it. |
|
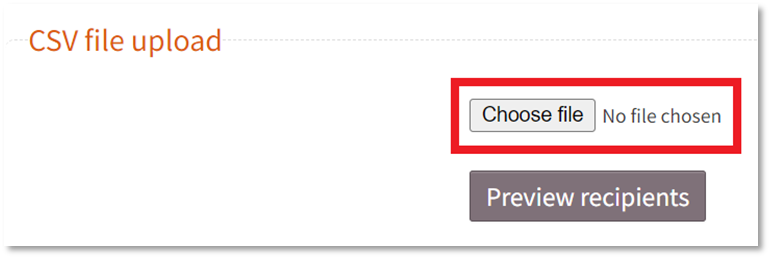
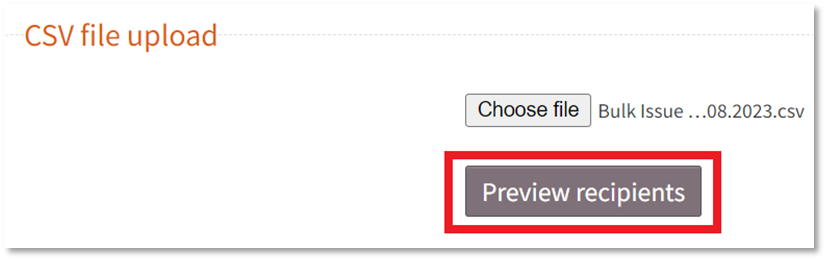
10. Upload your bulk issue spreadsheet by clicking ‘Choose file’.
This will open your file explorer for you to locate and select your file. |
|
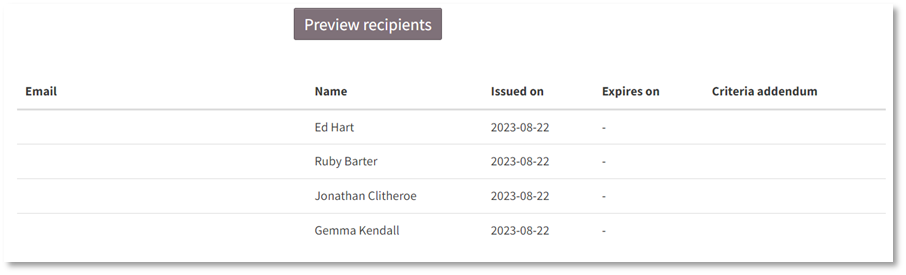
11. Click ‘Preview recipients’.
This will check your CSV file generate the list of earner names and email addresses present on the spreadsheet.
NOTE: You may receive an error message at this stage if your spreadsheet is not formatted correctly. The error message will explain where a mistake has been made, so all you need do is edit your spreadsheet accordingly and re-upload it. |
|
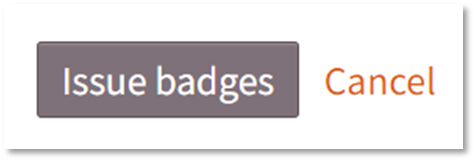
12. Click Issue badges.
A new page with a progress bar will open.
When this is green, a ‘Continue’ button will appear to allow you to navigate back to your dashboard. |
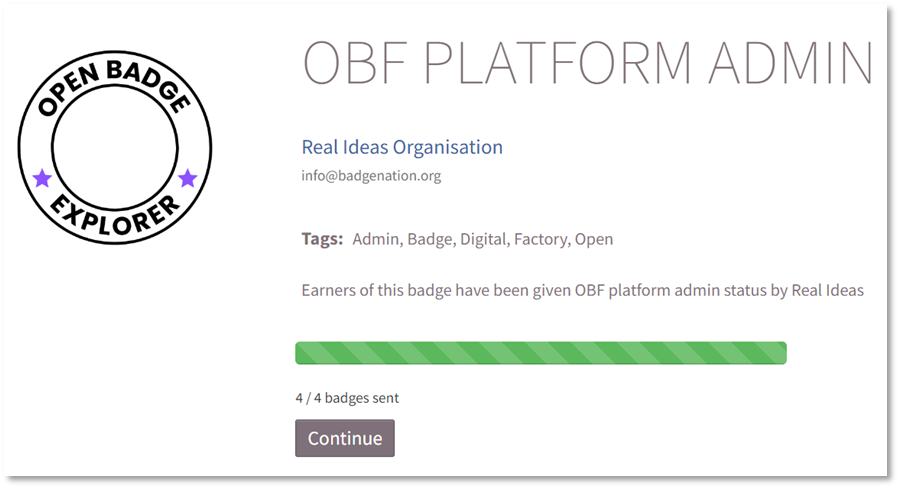
All done!
Your earners will receive an email inviting them to accept their badge.