Find out how to build a report of your issuing activity on Open Badge Factory.
PLEASE NOTE:
Using the 'Report Builder' feature on OBF requires your organisation to have an OBF Pro account. This feature is not available on Basic and Premium subscriptions.
If you would like to discuss your OBF subscription type don't hesitate to submit a Customer Support Request and a member of the team will be delighted to chat.
To begin building a report:
|
1. Log in to Open Badge Factory This will open your dashboard. |
|
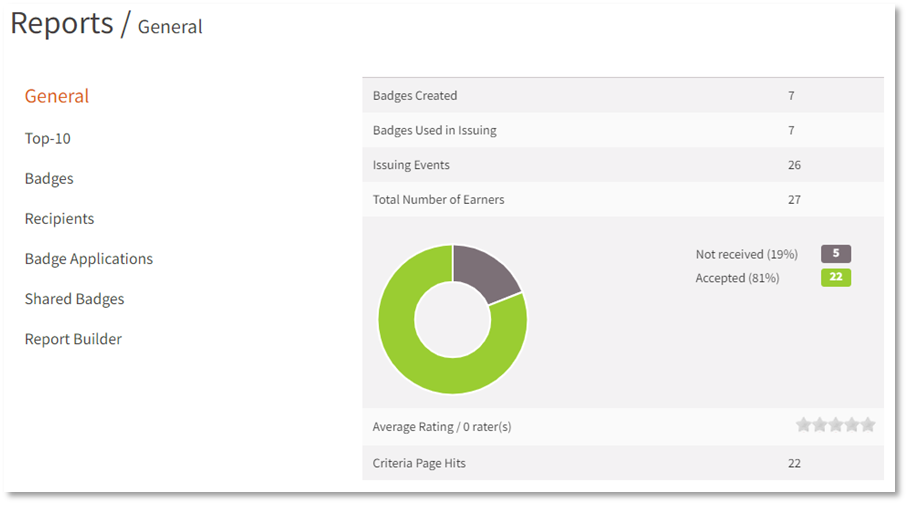
2. Click ‘Reports’ from the navigation menu at the top of your screen.
This will open ‘General’ statistics with an overview of activity for all of your badges, issuing events, and earners.
|

|
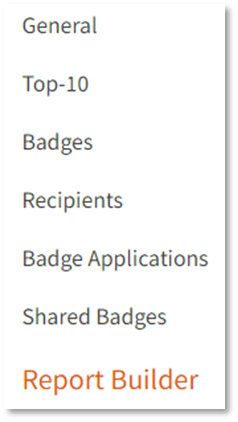
3. Click ‘Report Builder’ from the bottom of the menu on the left of your screen.
This will open the options to begin building your new report:
|
|
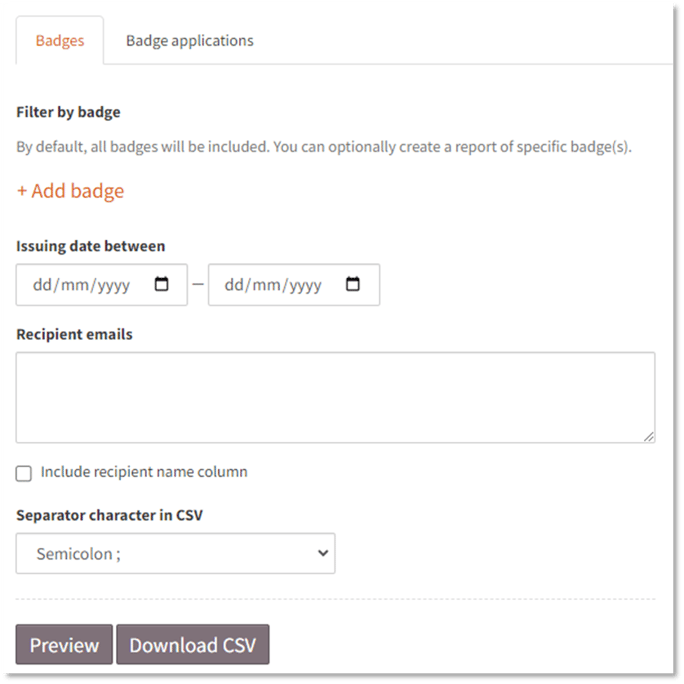
4. Begin tailoring your report. NOTE: All filters are optional. If you are building a report to display your all-time issuing activity for all of your badges, leave the filters blank and skip to step 5. You can tailor your report using the following filters:
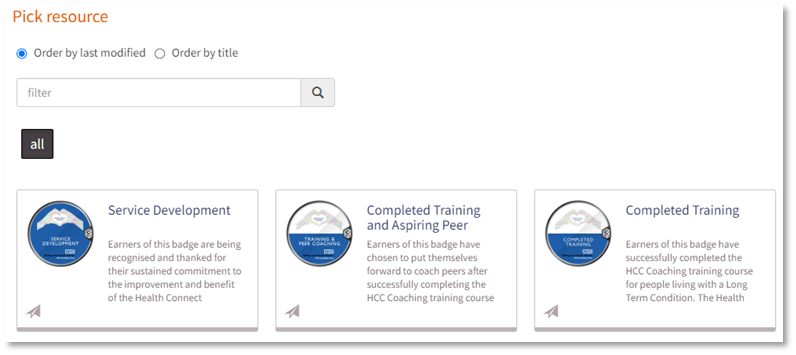
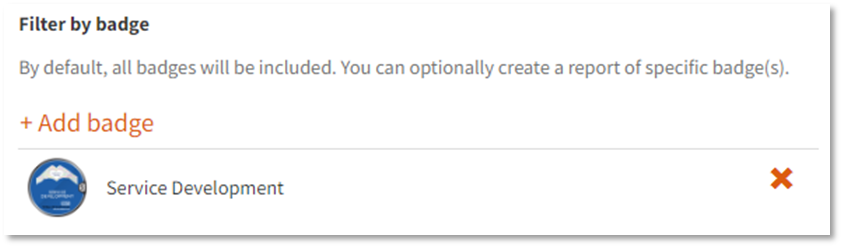
To generate a report for a specific badge or selection of badges, click ‘+ Add badge’
A pop up will appear allowing you to select from your OBF account’s collection of badges.
Click on a badge. This will add it to a list.
Repeat for as many badges as you need.
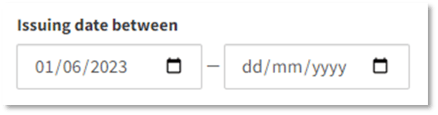
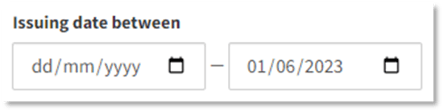
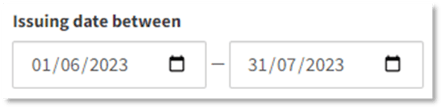
By default, your issuing activity for all-time will be included in your report. To generate a report for a specific date range, enter a start and/or end date in the 'Issuing date between' fields. Examples: Specific date - present:
Start of your OBF account – specific date:
Specific start – end dates:
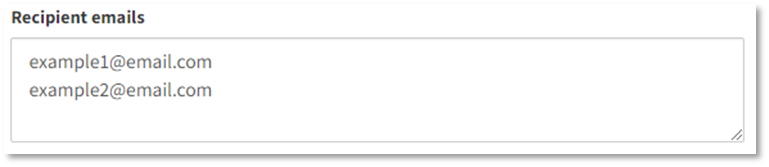
By default, all of your badge earners and their email addresses will be included on your report. To filter by earner email address, enter the address(es) into the box.
|

|
5. Select preference for including earner names in your report. Leaving this box unticked means that only the earner email address will appear on your report.
To add a column to your report to list earner names, tick the box (recommended).
|


|
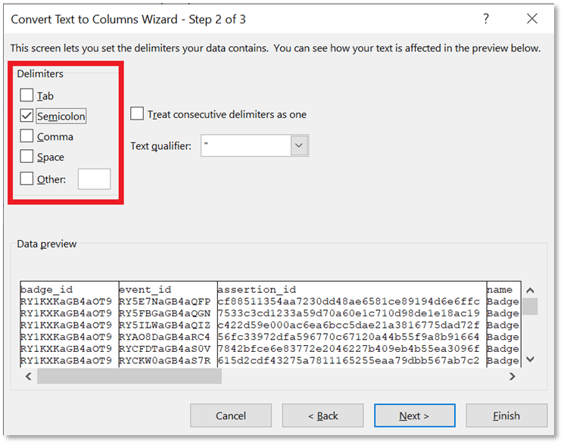
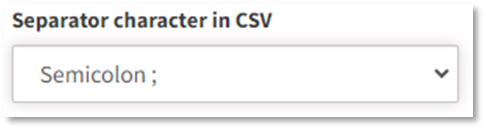
6. Choose what character will separate data on your CSV file. You can choose between a comma and a semicolon using the drop-down menu:
|
|
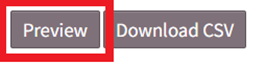
7. Click ‘Preview’
This will generate a list of all data that will be included in your report.
|

|
8. Check through the data in your preview and ensure that it has captured the information you need. Revisit steps 4 and 5 if you would like to amend any filters to display the information you require. |
|
9. When you are happy with the information contained your report, click ‘Download CSV’ to export the data as a spreadsheet and place the file in your ‘Downloads’ folder.
|

|
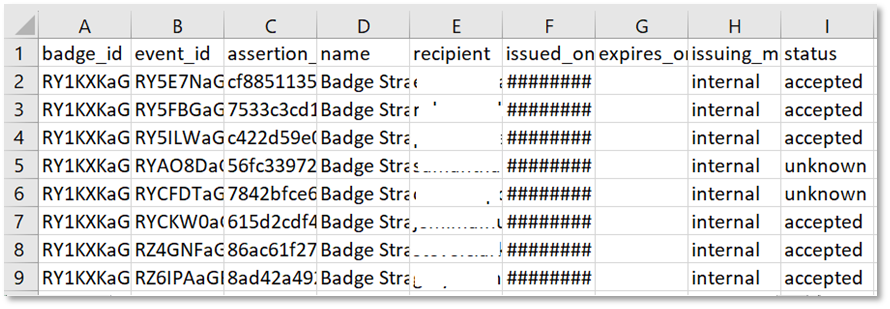
10. Open the CSV file. Your data will appear as one cell per row in column A.
|

|
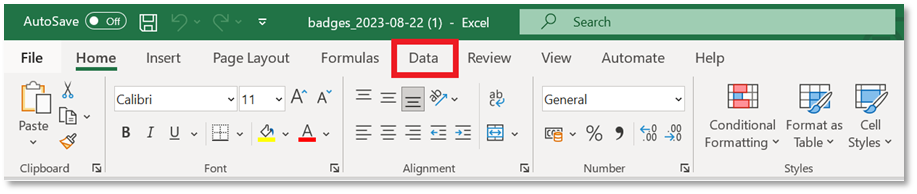
11. OPTIONAL – If you are using Excel and would like to split the data into individual columns: From the menu, click ‘Data’.
On the right-hand side, click ‘Text to Columns’.
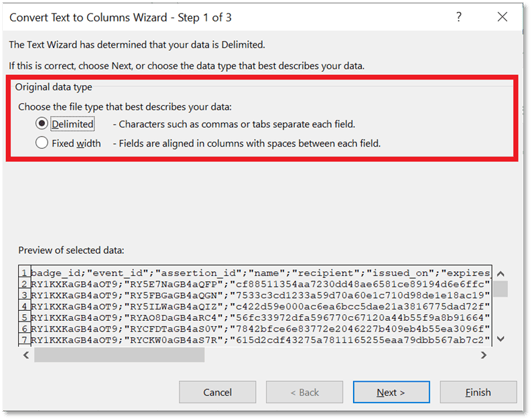
Select ‘Delimited’.
Click ‘Next’.
Click ‘Next’.
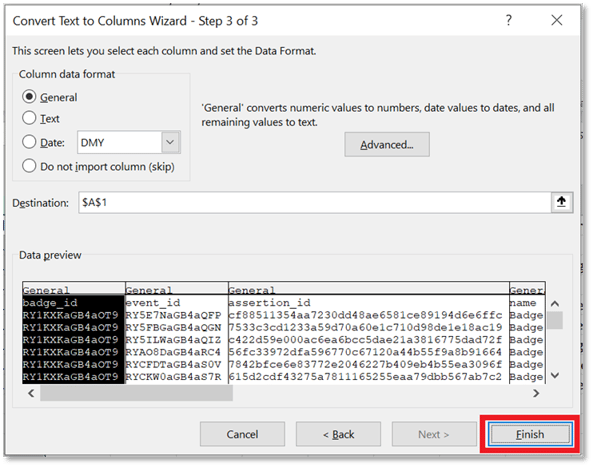
Click ‘Finish’.
Your spreadsheet will now organise data into columns.
|