Below is a written step by step guide for generating analytics reports using Credly.
If you learn best with video, you can view the ‘Downloading a report’ chapter of our ‘Using Analytics on Credly’ YouTube video here.
How can I generate an analytics report on Credly?
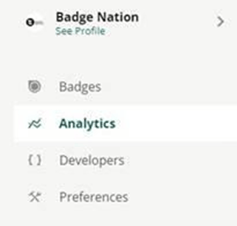
1. Sign into Credly and select the ‘analytics’ tab at the top le ft hand side of your screen.

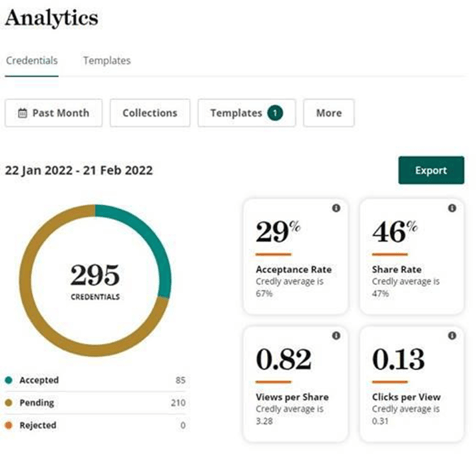
2. You will be taken to a page that will give you a brief overview of the analytics for your badge, which will look something like the screenshot below. If you are looking at analytics for one badge in particular, click the ‘Templates’ box and select the badge you wish to view.

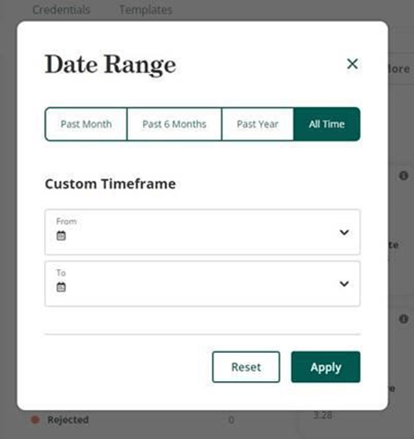
3. You can set the date range that you’re looking for using the box that currently says ‘Past Month’ in the screenshot above. To look at all past issuing activity for that badge, select ‘All Time’ , as seen below.

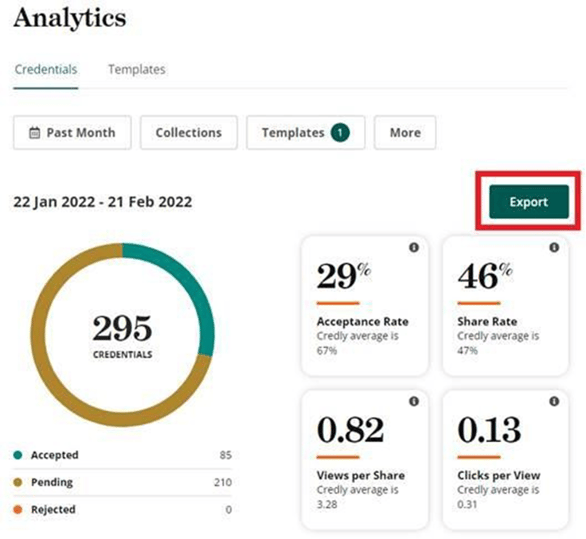
below) which will generate a spreadsheet of all of your information.

Depending on the size of the report, you’ll either be able to download it right away or will need to wait a moment for it to be delivered to you by email.
/Black%20and%20white%20-%20png/Real_ideas_logo_RGB_White.png?height=120&name=Real_ideas_logo_RGB_White.png)